Simple, effective strategies to maintain peak performance and extend the life of your Mac
How to Use the Built-in Storage Manager to Free Up Space
One of the most effective tools for maintaining your Mac’s performance is the built-in Storage Management feature. As your Mac fills up, system responsiveness can slow down—especially if less than 10GB of free space remains. macOS includes a powerful utility that helps you analyze and reclaim storage without needing third-party software.
To access Storage Management, click the Apple logo in the top-left corner, select “About This Mac,” and then click the “Storage” tab. After a brief analysis, you’ll see a color-coded breakdown of your disk usage: apps, system files, photos, documents, and more. Click the “Manage…” button to open the full Storage Management window.
Inside, you’ll find several smart suggestions. The “Store in iCloud” option moves files like documents and photos to iCloud, keeping them accessible while freeing up local space. “Optimize Storage” automatically removes watched iTunes movies and TV shows, and deletes old email attachments. “Empty Trash Automatically” ensures deleted files don’t linger indefinitely. Finally, “Reduce Clutter” scans your files and groups them by size and last opened date, helping you identify large or unused files you can safely delete.
For example, you might discover a folder of old project files from two years ago taking up 15GB. By sorting files by size or last opened date, you can quickly decide what to archive or remove. You can also offload infrequently used apps—macOS will keep the app icon but remove the bulk of the data, re-downloading it when you next open it.
Using Storage Management regularly prevents your startup disk from becoming full, which can cause slowdowns, failed software updates, and even system instability. It’s a safe, Apple-approved method that integrates seamlessly with your workflow and respects your privacy—no data is sent to external servers.
The Truth About “Cleaning” Apps: Which to Use and Which to Avoid
The Mac App Store and third-party websites are filled with apps promising to “clean,” “speed up,” or “optimize” your Mac. Names like CleanMyMac, OnyX, CCleaner, and MacBooster are common, but their effectiveness—and safety—varies widely. Understanding what these tools actually do is crucial to avoiding unnecessary risks.
Some cleaning apps, like CleanMyMac X (by MacPaw), are well-regarded and even notarized by Apple. They offer legitimate features such as uninstalling apps completely (including leftover files), managing login items, and clearing cache files. These tools can be helpful for users who want a visual interface for tasks that would otherwise require manual navigation through hidden folders.
However, many so-called cleaning utilities exaggerate their benefits. For instance, clearing cache files rarely improves performance. macOS is designed to use cache for faster app launching and browsing, and it automatically clears old cache when space is needed. Deleting these files forces apps to rebuild them, which may temporarily slow things down.
Worse, some apps bundle adware, display misleading warnings (“Your Mac is 87% full!”), or request excessive permissions. CCleaner for Mac, once popular, has faced security concerns in the past, including a malware incident in 2017. Free optimization tools often monetize through ads or data collection, making them more harmful than helpful.
On the other hand, utilities like OnyX are free, open-source, and widely trusted by advanced users. OnyX allows deep system customization, verification of system files, and rebuilding of databases—but it’s intended for experienced users who understand the risks.
The truth is, macOS doesn’t need aggressive cleaning. Its Unix foundation includes automatic maintenance scripts that run daily, weekly, and monthly to clean logs, optimize databases, and manage memory. Tools that claim to “boost RAM” or “clean memory” are misleading—macOS manages memory efficiently by design, and freeing RAM manually can actually reduce performance.
If you choose to use a cleaning app, stick to reputable names with transparent privacy policies and Apple notarization. Better yet, rely on built-in tools like Storage Management, Activity Monitor (to check resource usage), and manual cleanup of Downloads and Documents folders. Avoid anything that uses scare tactics or promises dramatic speed improvements—your Mac is already optimized out of the box.
What PRAM/NVRAM and SMC Are, and When You Need to Reset Them
Two low-level system components—PRAM/NVRAM and SMC—play vital roles in your Mac’s operation. Understanding them helps you troubleshoot issues without resorting to full reinstalls or service visits.
PRAM and NVRAM: What They Do
PRAM (Parameter RAM) and its modern counterpart NVRAM (Non-Volatile RAM) store small but critical settings that persist even when your Mac is off. These include display resolution, speaker volume, time zone, startup disk selection, and recent kernel panic information. If your Mac starts up from the wrong drive or the volume resets every reboot, NVRAM might be corrupted.
To reset NVRAM, shut down your Mac, then turn it on and immediately press and hold Option + Command + P + R for about 20 seconds. On Apple Silicon Macs, this process is automatic during certain resets and cannot be manually triggered. On Intel Macs, you’ll hear the startup chime twice or see the Apple logo appear and disappear twice before releasing the keys.
Resetting NVRAM clears these settings and forces macOS to rebuild them on the next boot. It’s a safe, non-destructive process that can resolve boot issues, audio problems, or incorrect display settings.
SMC: System Management Controller
The SMC controls physical hardware functions such as power management, thermal regulation (fan speed), keyboard backlighting, battery charging, and sleep/wake behavior. If your Mac isn’t responding to the power button, fans are running at full speed unnecessarily, or the battery isn’t charging properly, an SMC reset may help.
The reset process varies by Mac model:
- Intel MacBooks with non-removable battery: Shut down, then press Shift + Control + Option on the left side of the keyboard plus the Power button for 10 seconds. Release and power on.
- Intel Mac desktops (iMac, Mac mini, Mac Pro): Unplug the power cord, wait 15 seconds, plug back in, wait 5 seconds, then power on.
- Apple Silicon Macs: No SMC reset is needed. Instead, shut down, wait 15 seconds, then restart. The system handles low-level functions differently.
After an SMC reset, your Mac may take slightly longer to start up as it recalibrates hardware sensors. This is normal. Avoid resetting SMC unnecessarily—only do so when experiencing specific hardware-related symptoms.
How to Manage the Programs That Launch with Your Mac
Over time, many apps add themselves to your login items—programs that launch automatically when you sign in. While some are useful (like Dropbox or Messages), too many can slow down startup and consume memory unnecessarily.
To manage login items, go to Apple Menu > System Settings (or System Preferences) > General > Login Items. You’ll see a list of apps that open at startup. Review each one:
- Keep essential tools like antivirus software, cloud sync apps, or communication platforms.
- Remove apps you rarely use or can open manually when needed (e.g., Spotify, Slack, or printer utilities).
- Disable items marked as “Hidden” if they’re consuming resources without your knowledge.
You can toggle the “Hide” option to prevent apps from opening visibly, or click the minus (-) button to remove them entirely. Some apps may re-add themselves after updates, so check this list periodically.
Additionally, check for background processes in Activity Monitor. Open it from Applications > Utilities, and sort by CPU or Memory usage. Look for processes using high resources with unfamiliar names. Research them before quitting—some are system processes, while others may be bloatware.
You can also disable automatic app launches within individual apps. For example, in Slack, go to Preferences > Advanced and uncheck “Launch Slack when you log in.” This gives you more granular control.
A clean login items list ensures your Mac boots quickly and remains responsive during daily use. Aim to keep only 3–5 essential auto-launching apps.
A Maintenance Checklist to Perform Once a Month
Regular maintenance keeps your Mac running smoothly and helps catch issues before they become serious. Set a monthly calendar reminder to follow this simple, 15-minute checklist:
1. Check Storage Space
Open About This Mac > Storage and use the “Manage” tool. Delete old downloads, offload large files to external drives or cloud storage, and consider archiving old projects.
2. Review Login Items
Go to System Settings > General > Login Items. Remove any apps you don’t need at startup. Keep the list lean for faster boot times.
3. Update macOS and Apps
Open System Settings > General > Software Update. Install any available OS updates, which often include performance improvements and security patches. Also, update apps via the App Store or their built-in updaters.
4. Restart Your Mac
A full shutdown and restart clears temporary files, resets memory, and reloads system processes. Do this at least once a month, even if you rarely shut down.
5. Monitor Battery Health (Laptops)
Hold the Option key and click the battery icon in the menu bar. Check “Condition” – if it says “Service Recommended,” consider a battery replacement. Avoid keeping your Mac plugged in 24/7 to prolong battery life.
6. Clear Browser Data
In Safari or your preferred browser, clear history, cookies, and cache. This prevents slowdowns and protects privacy. Use Private Browsing for sensitive sessions.
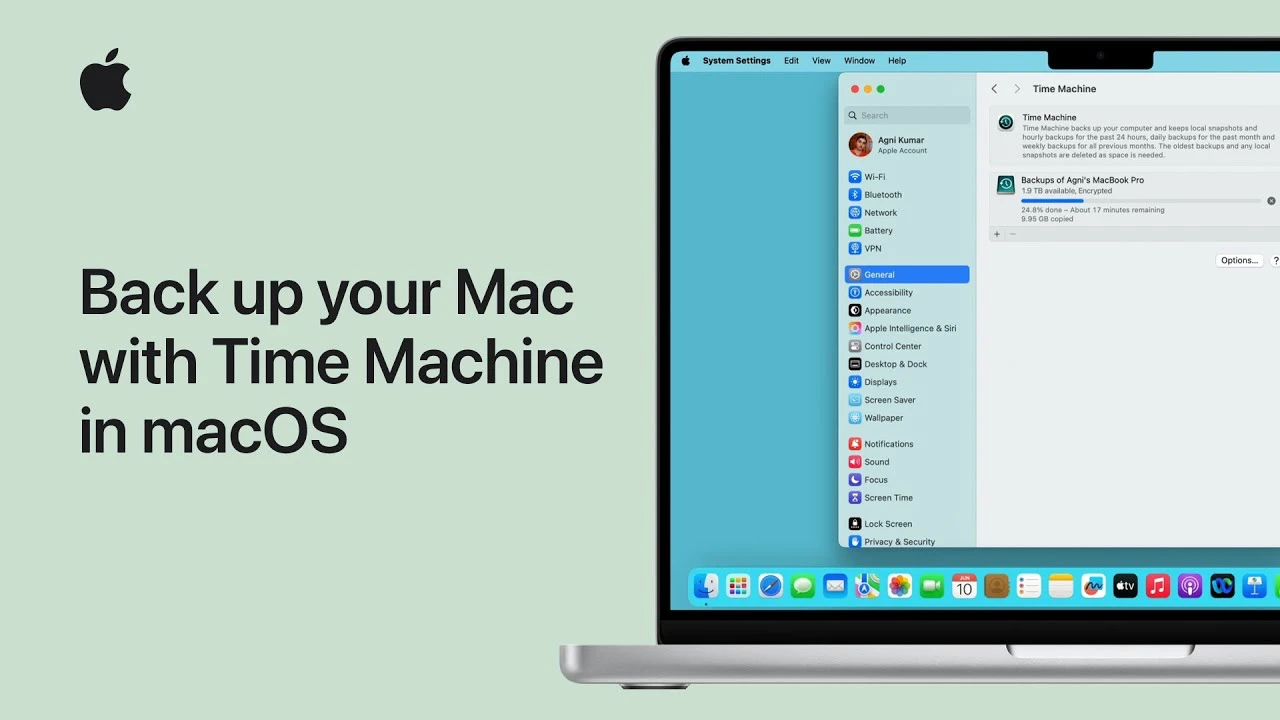
7. Verify Time Machine Backups
If you use Time Machine, ensure backups are running. Click the Time Machine icon in the menu bar and confirm the last backup was recent. Test restoring a file to verify integrity.
8. Reset SMC and NVRAM (if needed)
Only if you’ve experienced hardware issues, perform the appropriate reset as described earlier. Not required monthly unless symptoms arise.
9. Check for Unusual Activity
Open Activity Monitor and look for high CPU, memory, or energy usage by unknown processes. Research unfamiliar names online before quitting them.
10. Organize Files and Desktop
A cluttered desktop slows down performance because every icon is rendered in memory. Move files into folders, archive old documents, and keep only essentials on the desktop.
Following this checklist ensures your Mac remains fast, secure, and reliable for years. Most tasks take less than a minute, and the cumulative effect is a system that feels fresh and responsive—just like the day you unboxed it.
Related Posts

Exploring Mac OS X: A Guide to Virtualization and History
A comprehensive guide to understanding Mac OS X, its evolution,…

macOS Productivity: Master Spotlight, Mission Control, and Spaces
Use Spotlight as a Calculator, Unit Converter, and App Launcher…
Time Machine: The Definitive Guide to Your Mac Backups
What Time Machine Is vs. an iCloud Backup Time Machine…