A comprehensive guide to understanding Mac OS X, its evolution, virtualization, and practical setup tips
What Mac OS X Is vs. Other Operating Systems Like Windows or DOS
Mac OS X, now known as macOS, is Apple’s proprietary operating system designed specifically for its line of Macintosh computers. First released in 2001, Mac OS X marked a significant shift from the classic Mac OS by introducing a Unix-based foundation derived from NeXTSTEP and BSD. This transition brought enhanced stability, preemptive multitasking, protected memory, and a modern graphical user interface known as Aqua. Unlike MS-DOS, which is a command-line-based, single-tasking operating system developed in the early 1980s, Mac OS X provides a fully graphical environment with intuitive window management, a dock for launching applications, and seamless integration with Apple’s ecosystem of devices and services.
In contrast to Microsoft Windows, which runs on a wide variety of hardware from multiple manufacturers, Mac OS X is tightly integrated with Apple’s hardware. This integration allows for optimized performance, smoother updates, and consistent user experiences across devices. While Windows has traditionally dominated the desktop market due to its broad software compatibility and enterprise support, Mac OS X excels in areas such as multimedia production, software development, and design, thanks to powerful native tools like Final Cut Pro, Xcode, and Logic Pro.
The core architecture of Mac OS X is based on the XNU kernel, a hybrid combining elements of Mach and BSD. This Unix foundation gives Mac OS X robust security features, advanced file systems like APFS (Apple File System), and powerful command-line capabilities accessible through Terminal. In comparison, MS-DOS lacks multitasking and memory protection, making it obsolete for modern computing, while Windows uses the NT kernel, which also supports multitasking and security but historically faced criticism for vulnerability to malware—though modern versions like Windows 10 and 11 have significantly improved.
Another key differentiator is the user interface philosophy. Mac OS X emphasizes consistency, minimalism, and user-friendliness, with a focus on gestures, animations, and accessibility features. Windows offers a more customizable interface with support for a broader range of peripherals and legacy software. DOS, being text-only, requires users to memorize commands and navigate directories manually, making it far less accessible to casual users.
Despite their differences, all three operating systems serve as platforms for running applications, managing files, and connecting to networks. However, Mac OS X stands out for its elegant design, strong developer tools, and tight ecosystem integration—qualities that continue to attract creative professionals, developers, and everyday users seeking a reliable and intuitive computing experience.
A 5-Minute Video Tutorial to Install Mac OS X Yosemite in VirtualBox
Although this is a text-based guide, you can follow these step-by-step instructions to simulate what a 5-minute video tutorial would cover when installing Mac OS X Yosemite in VirtualBox. These directions are designed to be quick, clear, and efficient, mirroring the pace of a concise video walkthrough.
- Download and install Oracle VirtualBox from the official website if you haven’t already. Make sure you’re using version 6.1 or higher for better compatibility.
- Obtain a copy of the Mac OS X Yosemite installation image (a .dmg or .iso file). Note: Distributing or downloading macOS images may violate Apple’s software license agreement unless obtained through legitimate channels like the Mac App Store.
- Open VirtualBox and click “New” to create a virtual machine. Name it “Mac OS X Yosemite” and set the type to “Mac OS X” and version to “Mac OS X (64-bit)”.
- Allocate at least 4096 MB (4 GB) of RAM for smooth performance. More is better if your host system allows it.
- Create a virtual hard disk with at least 40 GB of space using the VDI format and dynamically allocated storage.
- After creation, select the VM and click “Settings.” Go to System > Processor and assign at least 2 CPU cores.
- Navigate to Display > Screen and increase video memory to 128 MB. Enable 3D acceleration for better graphics performance.
- Under Storage, click on the empty optical drive and choose the Yosemite .iso file as the disk image.
- Go to USB and ensure USB 2.0 or 3.0 is enabled to support external devices if needed.
- Click OK, then start the virtual machine. It should boot from the installation media and load the macOS Utilities window.
- Open Disk Utility, select the virtual hard drive, and format it as “Mac OS Extended (Journaled).” Name it “Yosemite” and apply.
- Exit Disk Utility and choose “Install Mac OS X.” Follow the prompts, selecting the newly formatted drive as the installation destination.
- The installation will proceed automatically. This may take 15–30 minutes depending on your system’s speed.
- Once complete, the VM will reboot. Remove the installation media from the virtual drive in Settings to prevent reinstallation.
- Complete the setup assistant by selecting your country, connecting to Wi-Fi (if available), and creating a user account.
While this process isn’t exactly five minutes from start to finish, the core configuration steps can be completed quickly with practice. For a true video tutorial experience, imagine each step being narrated clearly with screen highlights and smooth transitions between windows—ideal for visual learners who prefer watching over reading.
The History of Operating Systems: From Amiga 500 to Mac OS
The evolution of operating systems reflects the broader trajectory of personal computing, from niche hobbyist machines to the powerful, user-friendly systems we use today. One of the earliest pioneers in this space was the Amiga 500, released in 1987 by Commodore. The Amiga operating system, known as AmigaOS, was revolutionary for its time, offering preemptive multitasking, a graphical user interface, and advanced multimedia capabilities years before similar features appeared in Windows or Mac OS. Built on a Motorola 68000 processor, the Amiga 500 could handle video, audio, and gaming tasks with ease, making it a favorite among artists, musicians, and developers. Despite its technical superiority, poor business decisions and lack of marketing led to the decline of the Amiga platform by the mid-1990s.
Around the same time, Apple was developing its own line of personal computers. The original Macintosh, launched in 1984, introduced the world to the mouse-driven graphical user interface (GUI), inspired by Xerox PARC’s research. The early Mac OS was a single-tasking system with a simple desktop metaphor—windows, icons, menus, and a pointer (WIMP). Over the next decade, Apple iterated on this foundation, adding cooperative multitasking and improved memory management. However, by the late 1990s, the classic Mac OS began to show its age, suffering from instability, lack of memory protection, and difficulty supporting modern hardware.
This led to one of the most pivotal moments in computing history: Apple’s acquisition of NeXT in 1996 and the return of Steve Jobs. NeXT had developed NeXTSTEP, an advanced Unix-based operating system with object-oriented programming frameworks and a modern GUI. Apple used NeXTSTEP as the foundation for what would become Mac OS X, released in 2001. This new OS brought true multitasking, memory protection, and a redesigned interface called Aqua, featuring translucent windows, dock icons, and smooth animations.
Subsequent versions of Mac OS X—such as Panther, Tiger, Leopard, and Snow Leopard—refined the user experience, added features like Spotlight search, Time Machine backups, and Grand Central Dispatch for better multi-core performance. In 2012, Apple rebranded the OS as OS X, and later as macOS in 2016 to align with iOS, watchOS, and tvOS. Each major release adopted names from California landmarks, starting with OS X Mavericks.
Meanwhile, Microsoft was advancing Windows from the MS-DOS-based Windows 3.1 to Windows 95, which introduced the Start menu and taskbar, and eventually to the NT-based Windows XP, Vista, 7, and beyond. While Windows focused on broad compatibility and enterprise adoption, macOS carved a niche in creative industries and education, leveraging its Unix core and seamless hardware integration.
Today, the legacy of systems like the Amiga 500 lives on in modern operating systems that prioritize responsiveness, multimedia, and multitasking. The journey from command-line interfaces to graphical, touch-friendly environments illustrates how user needs have evolved—and how innovation often emerges from bold, sometimes overlooked, experiments in computing history.
How to Troubleshoot Common Problems During Installation in VirtualBox
Installing Mac OS X in VirtualBox can sometimes lead to unexpected issues due to hardware emulation limitations or configuration errors. Below are common problems and their solutions to help you complete the installation successfully.
Problem 1: “Mac OS X is not supported” or Gray Screen on Startup
This usually occurs when VirtualBox doesn’t recognize the OS type correctly. Ensure that when creating the VM, you selected “Mac OS X” as the type and “64-bit” as the version. Additionally, open the Command Prompt as Administrator and run:
Replace “VM name” with your actual virtual machine name. This command sets the CPU ID to mimic a supported Mac processor.
Problem 2: Installation Stalls or Freezes
If the installer freezes during the process, check your VM settings. Disable 3D acceleration temporarily under Display settings. Also, ensure you have allocated sufficient RAM (at least 4 GB) and CPU cores (2 or more). If using an older version of VirtualBox, consider upgrading to the latest version for better macOS support.
Problem 3: “This copy of the Install OS X Yosemite application is damaged”
This error often appears due to incorrect date settings in the VM. Before starting the installer, open Terminal from the Utilities menu and type:
This sets the date to January 1, 2015, which bypasses certificate expiration checks. Adjust the year if needed.
Problem 4: No Internet Connection in the VM
Go to VM Settings > Network and ensure the adapter is enabled and set to “NAT.” If using a bridged connection, verify your host network allows it. You may also need to install VirtualBox Guest Additions, though macOS support is limited.
Problem 5: Graphics Appear Blurry or Resolution is Low
Increase video memory to 128 MB and enable 2D/3D acceleration. After installation, you can adjust resolution from System Preferences > Displays. Some users install third-party tools like “OSX-KVM” patches, but proceed with caution and only from trusted sources.
Problem 6: VM Won’t Boot After Installation
Make sure the boot medium (installation ISO) is removed from the virtual optical drive in Settings > Storage. Otherwise, the VM will attempt to boot from the installer again. Also, verify that the hard disk is attached and set as the primary boot device.
Quick-Start PDF to Configure Your Virtual Machine
While this is a text-based article, the following serves as a concise quick-start guide you can save or print as a PDF for easy reference when setting up your Mac OS X Yosemite virtual machine in VirtualBox.
Virtual Machine Configuration Checklist
- Name: Mac OS X Yosemite
- Type: Mac OS X
- Version: Mac OS X (64-bit)
- RAM: 4096 MB (4 GB) minimum
- Hard Disk: 40+ GB, VDI, dynamically allocated
- Processor: 2+ CPU cores
- Video Memory: 128 MB, 3D Acceleration enabled
- Storage: Attach Yosemite .iso file to optical drive
- Network: Adapter 1 enabled, attached to NAT
- USB: Enable USB 2.0 or 3.0 controller
Post-Creation Steps
- Run the CPU ID command in Command Prompt (Admin) to enable macOS support.
- Boot VM and open Disk Utility to format the virtual drive as Mac OS Extended (Journaled).
- Install Yosemite from the Utilities menu.
- Set the correct date via Terminal if encountering certificate errors.
- Remove installation media after setup completes.
- Configure user account and system preferences.
Tips for Stability
- Keep VirtualBox updated to the latest version.
- Avoid enabling unnecessary features like shared folders unless needed.
- Take snapshots before major changes to preserve system state.
- Use .vbox files to back up VM configuration.
- Store virtual disk (.vdi) on a fast drive (SSD recommended).
To convert this guide into a PDF, use your browser’s “Print” function and select “Save as PDF” as the destination. This will preserve all formatting and allow you to access the guide offline.
Understanding the nuances of virtualizing Mac OS X not only enhances your technical skills but also deepens your appreciation for the operating system’s design and history. Whether you’re a developer testing applications, a student learning about operating systems, or a curious tech enthusiast, this guide provides a solid foundation for exploring macOS in a safe, controlled environment.
Related Posts

Mac Maintenance: Tips to Keep It Running as Fast as Day One
Simple, effective strategies to maintain peak performance and extend the…
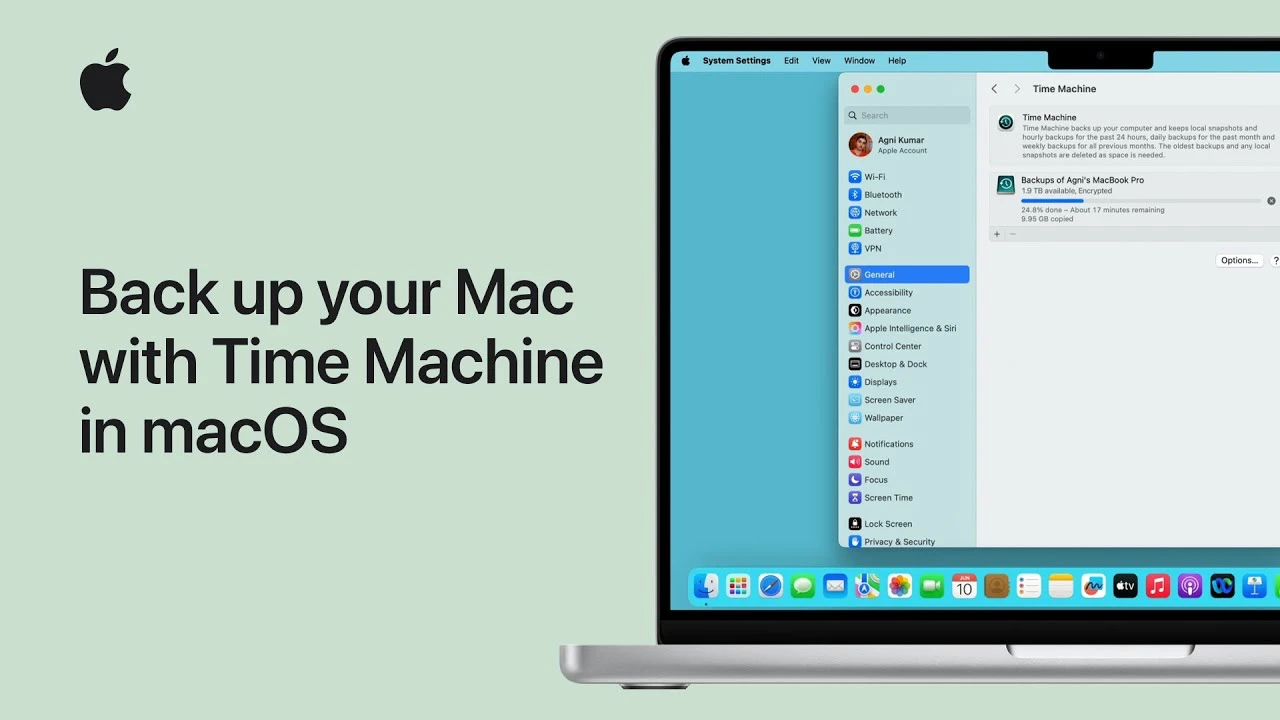
Time Machine: The Definitive Guide to Your Mac Backups
What Time Machine Is vs. an iCloud Backup Time Machine…

Boot Camp vs. Virtualization: The Best Way to Use Windows on Your Mac
Key Differences: Native Performance (Boot Camp) vs. Convenience (Parallels/VMware) When…